Pull Requests
Working together on a shared repository can be very frustrating, as you have to be very aware of what everyone else is doing, and have to continually think about merging everyone’s changes together.
One way to simplify this process is to use branches. We used branches before when we wanted to edit an old version of versioned_dir. The most common use of branching is to allow you to work on your own, personal branch of the code, safe in the knowledge that conflicting changes will not be made by others. You can then merge in your changes by merging in your branch, e.g.
o-o-o-o-o   master
 `o-o'      my-branch
The above diagram shows that you have created a my-branch branch from master, which you have edited and committed. Meanwhile, there have been other commits made to master. You have then merged my-branch into master, and then further commits have been made to master.
Branch in the cloud
First, we will create a branch of the “original” versioned_dir, which will be pushed to the cloud. We will call this branch new-feature (in general, it is good to call your branch something that indicates the purpose of the branch, e.g. what feature is being implemented).
git checkout -b new-featureThis will create and switch to a new branch called new-branch.
Now, push this branch to the cloud repository.
git push origin new-feature(remember, we earlier created an alias that said that origin was equal to https://github.com/USERNAME/versioned_dir.git, where USERNAME was your GitHub username)
This command pushes to origin your new-feature branch. This will fail if a branch with this name already exists. It is good practice to ensure that your branch has a unique name, e.g. it includes part of the your username.
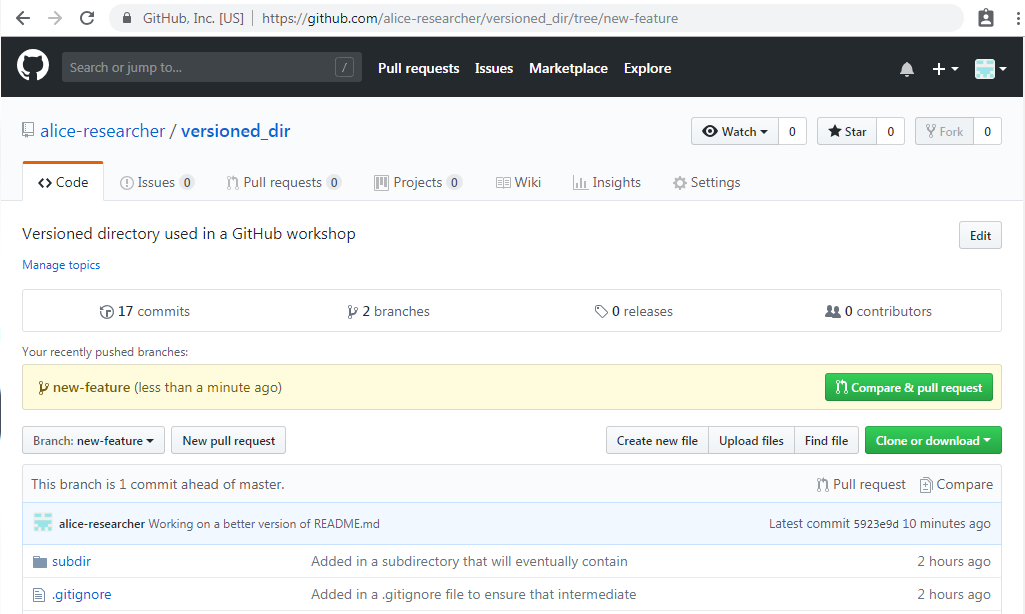
If you look on GitHub, you should see that the new-feature branch is visible in the “Branch” dropdown, e.g.

Working on your branch
Now that you have your own branch, you are free to make changes to it without worrying about conflict (assuming no-one is so rude to make changes to your branch!). Let’s make some changes, e.g. edit README.md to read
# Hello Brilliant, Useful GitHub

This is a README.md file that will be used to describe this
repository on GitHub

This is a much improved introduction that includes a
new list of items

* Item 1
* Item 2
* Item 3

This is an extra line of text added to the copy
of README.md in the cloned repository
Save the file and then commit the change
git commit -aNow, when we push, we need to tell Git to push changes from our local new-feature branch to the cloud new-feature branch. To do this, we run a modified git push command
git push --set-upstream origin new-featureThis changes the branch we push to on origin to new-feature. Note that we only have to do this once, when we first push to the new-feature branch.
Pull Requests
Once you have finished implementing your new feature, you need to tell all of the other developers that you are ready to merge. To do this, you issue a “pull request”. A “pull request” is a request to the other developers that they should pull in the changes made in your code.
To issue a pull request, use your browser to navigate to your project on GitHub. Change the viewed branch to new-feature, and then click the green “Compare and pull request” button, e.g.
This will open a form in which you can send a message requesting that the changes in your branch are pulled into master (you can issue pull requests to merge into other branches by clicking on the “base:master” button and choosing a different branch).
There is a space for you to add a message, which you should use to describe your changes and say why your branch should be merged.
GitHub will automatically check whether your pull request can be automatically merged. In general, it is good practice for you to merge as much as you can yourself, so that it is as easy as possible for others to merge your branch. However, where this is not possible, make sure you say why you cannot resolve all conflicts, and try to suggest how the conflicts could be resolved. In this case, our commits can be automatically merged, so add in a simple message, as shown below.

Once you are ready, click “Create pull request” and your request will be made.
Dealing with a pull request
You can see all pull requests by clicking on the “Pull Request” icon on the right of the screen, e.g.

Clicking on this pull request will open up a forum that you can use to discuss this request with other developers. If the pull request can be automatically merged, then you can click “Merge Pull Request” to automatically merge and close the pull request. Alternatively, clicking on “view command line instructions” will show the commands you need to run to merge manually.
We are going to merge manually, using the “cloned” repository to simulate a different user.
Change into the “cloned” repository
cd
cd tmpdir/versioned_dir
Use git status to ensure that your working directory is clean and you are on the master branch. Run git pull to make sure you have pulled in the latest changes.
Now, we will bring in the changes from the cloud new-feature branch.
git fetch origin
git checkout -b new-feature origin/new-feature
This pulls in all information from origin, and then checks out the new-feature branch, ensuring that it tracks the origin/new-feature branch. If you now type git branch you should see that you have switched to the new-feature branch.
Next, we need to merge in all of the changes from master to new-feature.
git merge masterIf there are any conflicts, you will need to resolve them, and you will then need to commit the changes using git commit -a and git push (in our case, the merge from master has not changed anything, so git commit -a and git push are not necessary).
Now, switch back to the master branch, using
git checkout masterWe now merge new-feature into master, using
git merge --no-ff new-featureThe --no-ff option is necessary and will ensure that an automatic commit will be requested. This will open up your text editor to let you write this commit message. You should say that you are merging in response to a pull request. This will now merge every change from new-feature into master, and you should see something like
Merge made by the 'recursive' strategy.
 README.md | 7 +++++++
 1 file changed, 7 insertions(+)
Finally, push to origin the changes that you have made to your local copy of master
git push origin masterYou should see something like
Counting objects: 1, done.
Writing objects: 100% (1/1), 259 bytes | 0 bytes/s, done.
Total 1 (delta 0), reused 0 (delta 0)
To https://github.com/chryswoods/versioned_dir.git
   d1c8fc0..a85c01c  master -> master
You will notice on github.com that GitHub has automatically recognised that you have merged the pull request, and the page should have automatically updated to look something like below

At this point the pull request has been closed. As the branch has now been merged, it can be deleted. Click “Delete Branch” to remove this temporary branch from your GitHub cloud repository.
If you return to the main GitHub page for your repository, you should see that the changes in new-feature have been merged, and that new-feature has disappeared from the list of visible branches, e.g.

Ideal Workflow
The best way to use Git and GitHub for a multi-user project is to make a lot of use of temporary branches and pull requests.
Whenever you want to implement a new feature, you should create a new temporary branch. Give this branch a name that gives some idea of who you are, and what feature you are implementing. Then, make the changes, committing and pushing regularly.
When you have finished, do what you can to merge as much as possible from master into your new feature branch. As far as possible, you want your pull request to be automatically mergeable.
Then, issue a pull request, giving a useful message to other developers to encourage them to put effort into merging your changes. Participate in the resulting discussion on the pull request forum, and help merge in all of the code.
Once ready, merge the pull request with the co-operation and help of other developers (and normally the blessing of the person/group that manages master). Once merged, close the pull request and delete the temporary branch.
While Git cannot help with the social problems of working on a multi-person project, the above process of “branch and pull-request” makes it as painless as possible, particularly if you have good communication in the pull request forum.